SOMA Smart Shades 3
Installation Guide
Thank you for choosing SOMA Smart Shades 3 to make your home smarter.
CONTENTS
What's in the box
Installation steps
Setup via Smart Shades app
Contact support
Add-ons
Installation steps
Setup via Smart Shades app
Contact support
Add-ons
What’s in the box
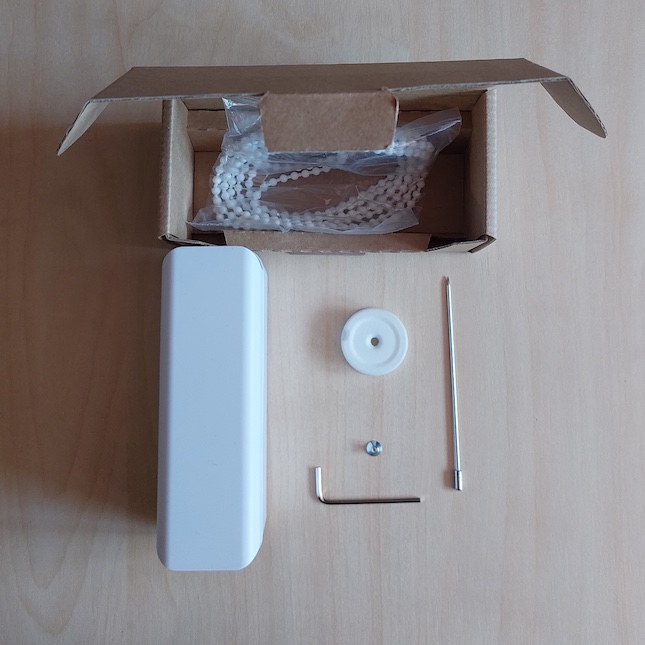
- Device with mounting bracket attached
- Three types of gearwheels
- Gearwheel for standard sized beads with a gap for connector link
- Gearwheel for small sized beads
- Gearwheel for non-beaded cord
- Connector link
- Screw for attaching the gearwheel
- Allen/hex key for attaching and removing the gearwheel using the screw
- Metal pin for releasing the device from the mounting bracket
Step 1
Gearwheel compatibility check
Please find out which of the three included gearwheels matches the type of chain or cord your shade has.
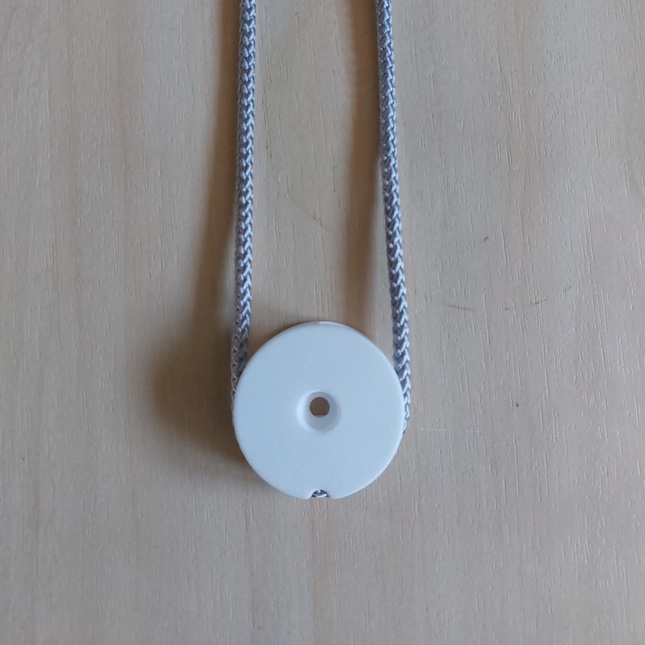
The gearwheel in the picture is compatible with a non-beaded cord.
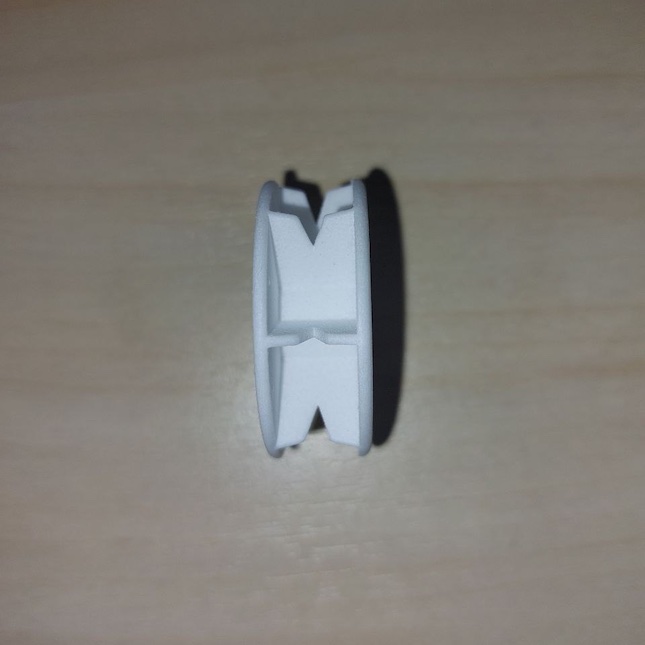
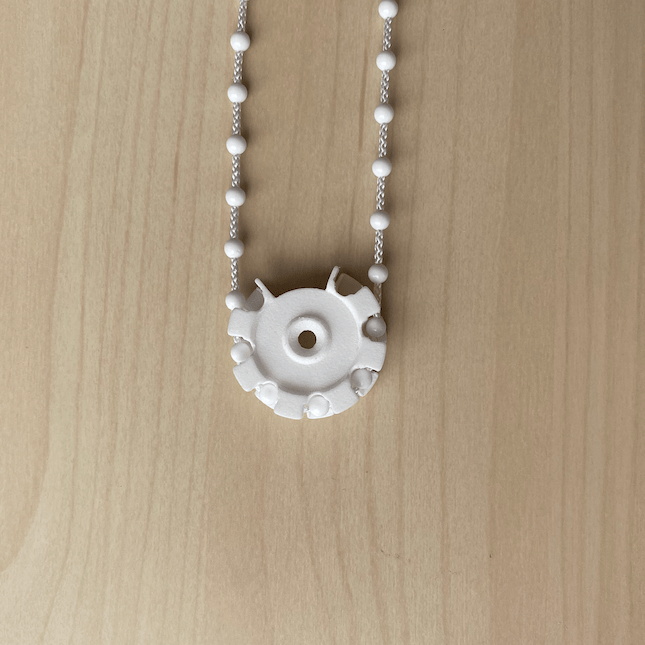
The gearwheel in the picture is compatible with two types of chains: 1) one has 4-5 beads per in./2.5 cm; 2) the second has an extra spacing between the beads, with the third bead positioned at 1 in./2.5 cm from the start. Both chain types have beads that are 3/16 in./4.5 mm wide. The gearwheel has a gap in the teeth for letting the compatible connector link to pass through.
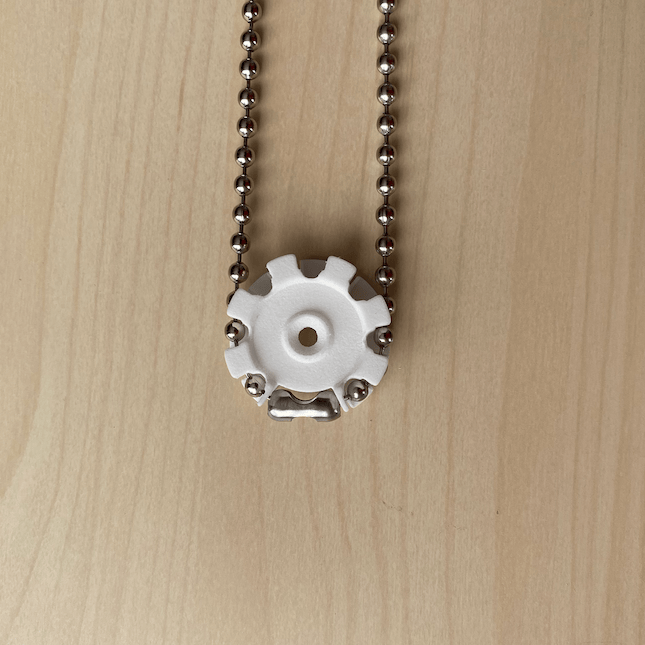
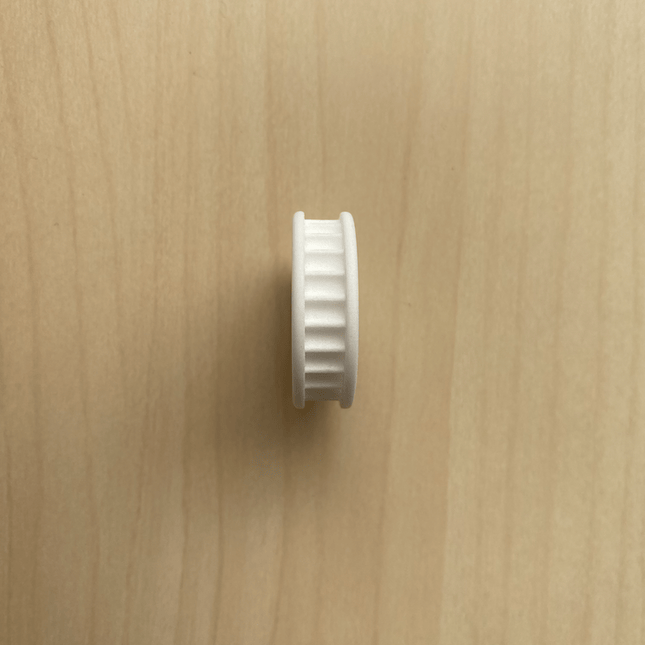
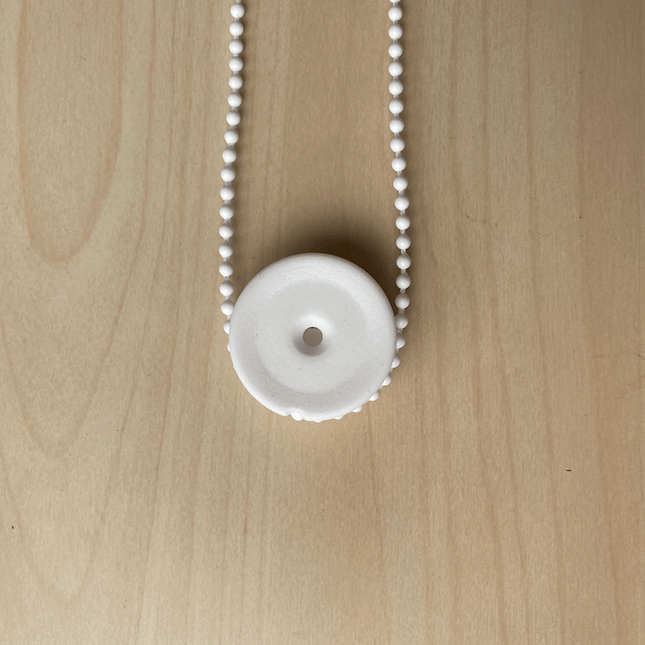
The gearwheel in the picture is compatible with a chain that has around 6 balls per 1 in / 2.5 cm and with a ball diameter approx. 1/8 in / 3.2 mm.
Step 2
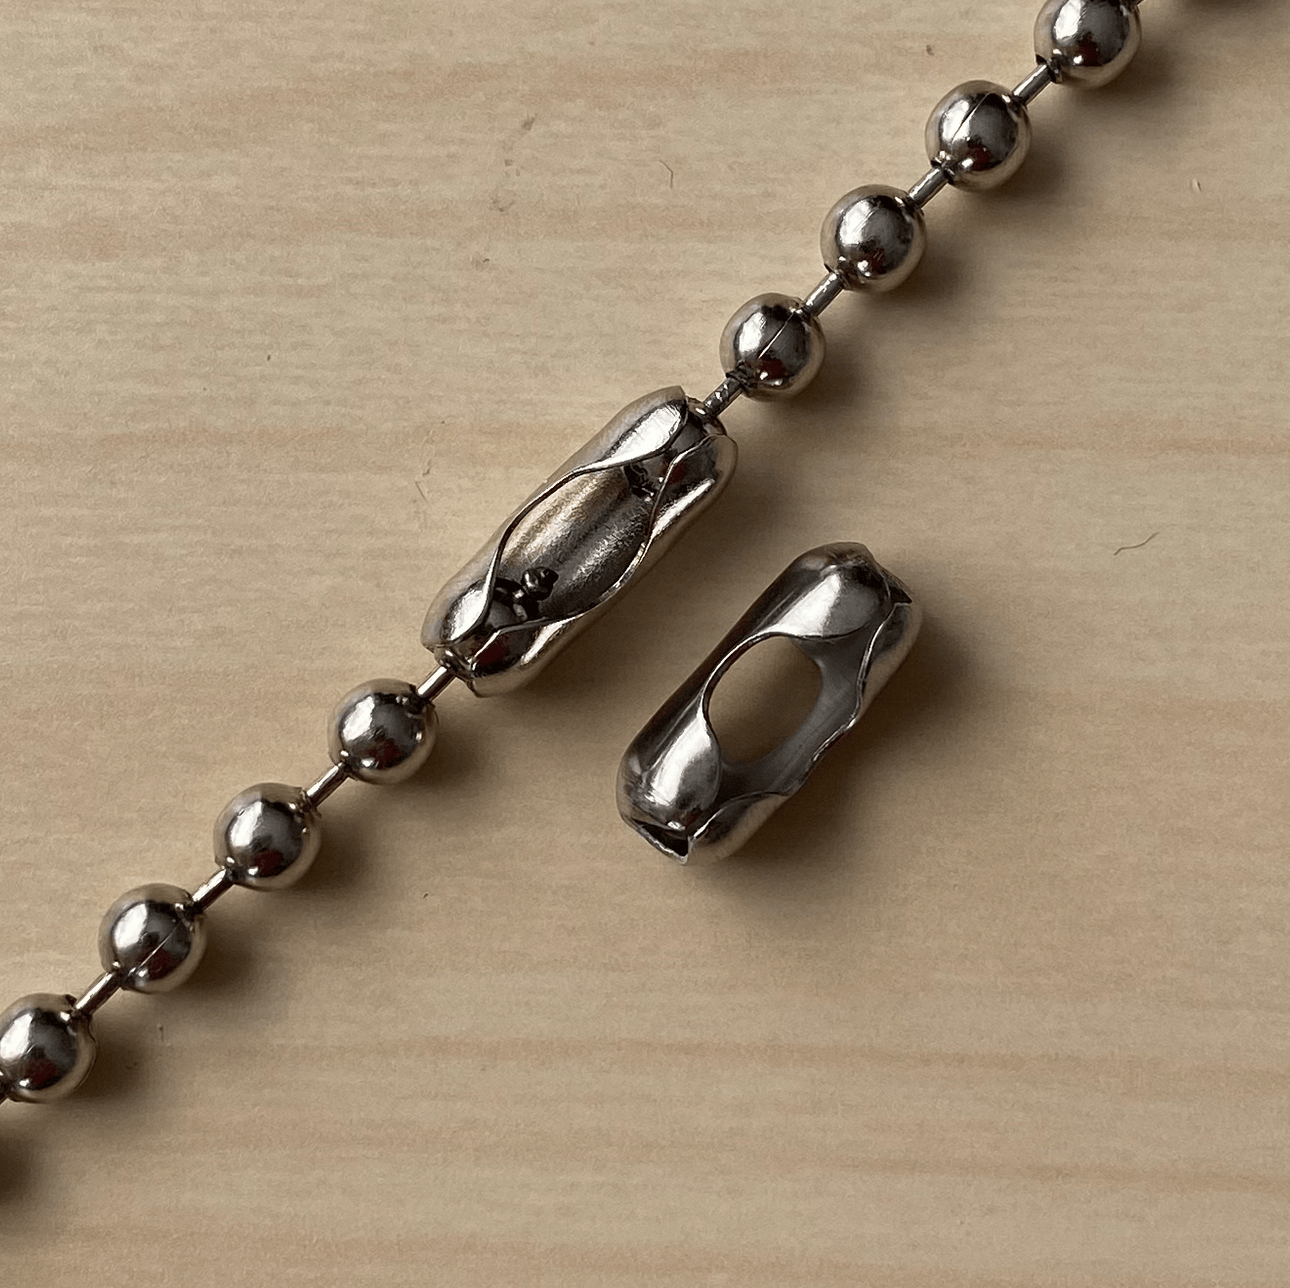
Checking chain for stopper bead and connector
Ensure that the chain does not have parts that could block its movement through the Smart Shades 3, only the compatible connector link can move through the gearwheel mechanism.
You can easily remove the stopper beads
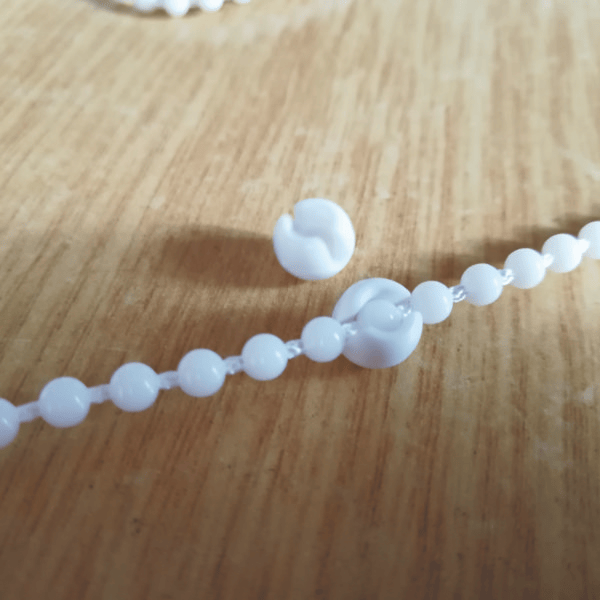
Replace the connector on your chain (if there is one) as it might be of slightly different size than the one included with the product and cause issues.
Step 3
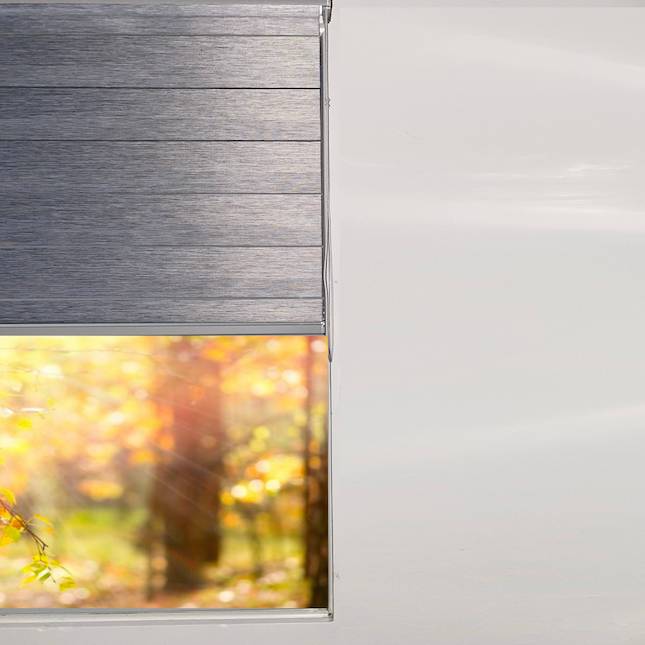
Positioning of shade/vertical blind
Move the shade to the middle position.
In case of vertical blinds, the slats should be in an open position or drawn to the center.
In case of vertical blinds, the slats should be in an open position or drawn to the center.
Step 4
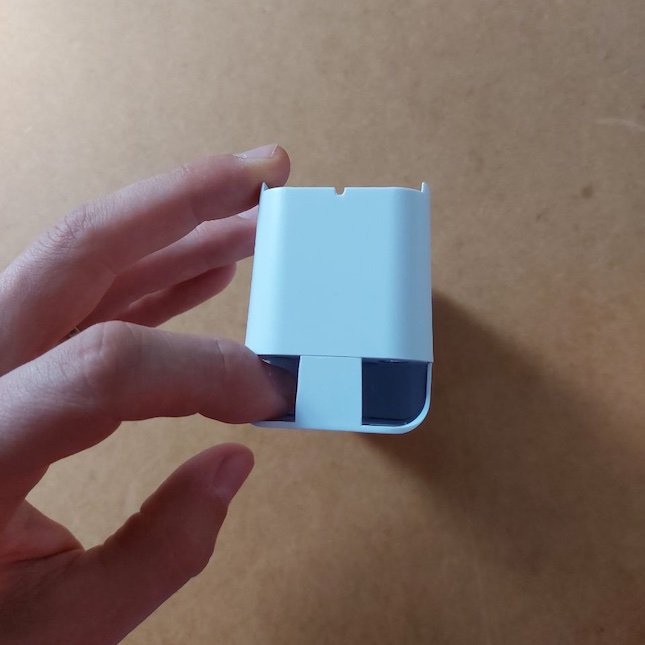
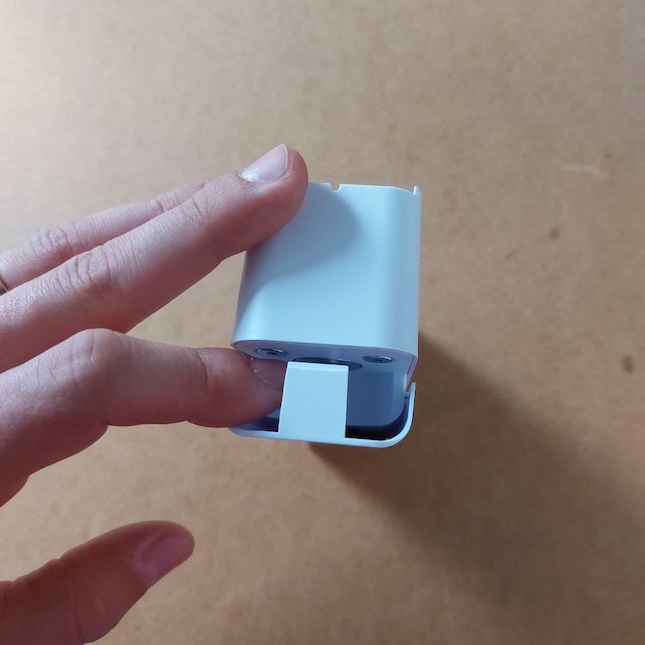
How to remove the front cover
Remove the front cover of the device by pulling with a finger to the side as shown in the pictures.
Step 5
Attaching the gearwheel with chain/cord
Fit the chain or cord around the gearwheel and attach the gearwheel to the device using the screw provided in the product box. Use the Allen/hex key provided in the product box to fasten the screw securely.
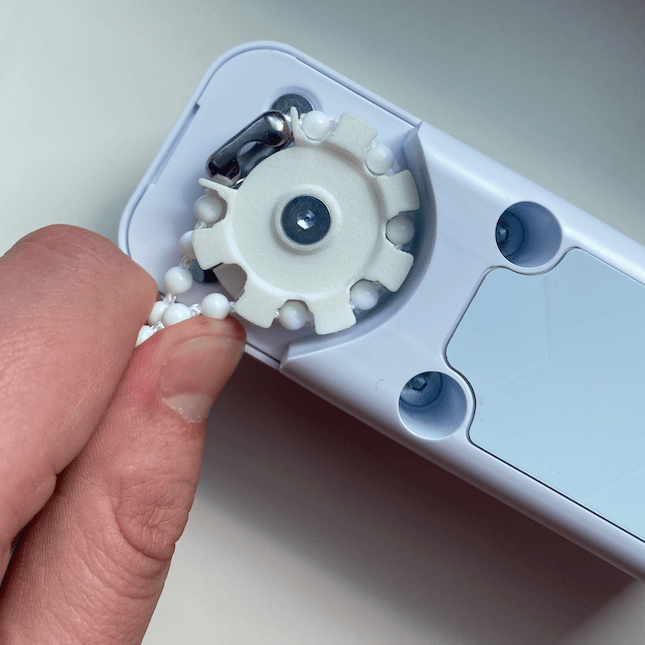
Tips: In the event that you misplace the provided Allen/hex key, you can use a standard 3/32 in/2.5 mm Allen/hex key.
Step 6
Activating the device
Before replacing the cover, activate the device by inserting the metal pin into the small hole on the bottom of the device. Ensure that a light indicator on the front of the device starts blinking.
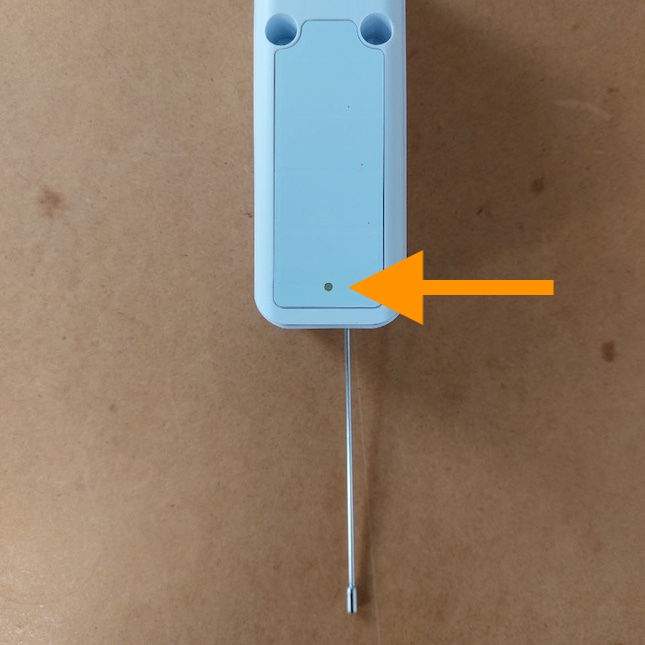
Step 7
Checking the position of mounting bracket
Before you peel off the protective layer of the adhesive tape, it’s important to check the position of the mounting bracket. Make sure it is set to a low position so that most of the locking teeth are visible. This will allow you to tighten the chain later on after the device has been attached to the chosen surface.

Step 8
Positioning the device and installing it on chosen surface
Ensure the device is located at the lowest position of the chain or cord. Also, make sure that the surface where you plan to install the device is clean and dry. Position the device in a way that allows the shade to move freely past it, rather than rolling over it. Pull the chain or cord tight and attach the device to the chosen surface.
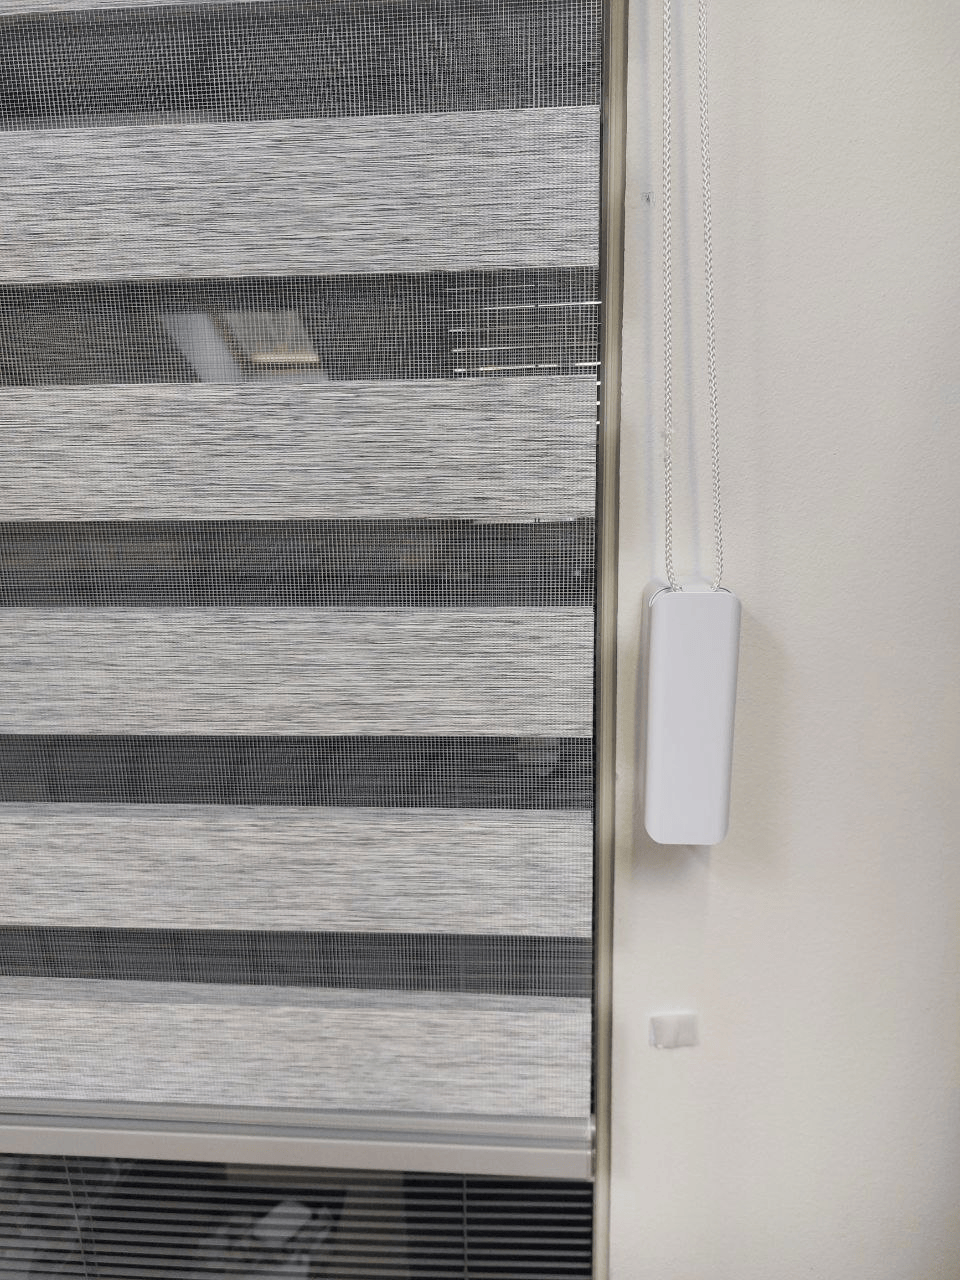
Tip: To release the device from its bracket when the chain is already attached, push the metal pin into the small hole located above the device and slide the device upwards along the mounting bracket. If the chain is not attached, simply pull the device downwards to release it.
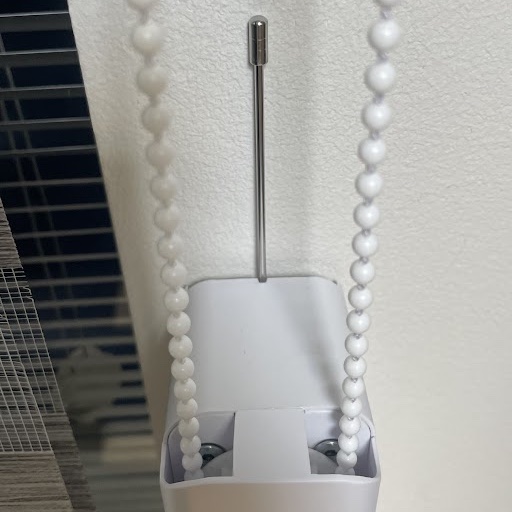
If the surface is not smooth, you may want to consider using screws to install the device. Using two screws without removing the tape will attach the Smart Shades 3 even more securely to the surface.
CONGRATULATIONS! Installation complete. You are very close to a smarter home!
Setup via Smart Shades app
Download and install the "Smart Shades" app in Apple App Store or Google Play Store and open the app to complete the setup for the Smart Shades 3 device.
Contact support
If you have any questions, please contact us at support@somasmarthome.com
Expand your experience with add-ons
Solar panel: power your Smart Shades 3 with solar energy and make your home more eco-friendly. Also, this will enable you to let Smart Shades 3 lower and raise shades based on light conditions outside.
SOMA Connect Bridge: use your voice to control SOMA Smart Shades 3 with Apple Siri, Google Assistant & Amazon Alexa
Take a closer look at somasmarthome.com!